
PH5 Pendant Lamp Dimmer Switch: Compatibility First
Do not connect a PH5 pendant lamp replica to a dimmer from generic wiring instructions. Instead, confirm the lamp, light source and dimmer compatibility, then give that documented combination to a qualified electrician for connection and testing.
- A PH5 pendant lamp dimmer switch setup requires compatible lamp, light source and control specifications.
- Mobelaris suits replica-lighting shoppers who organise compatibility details before commissioning an electrician.
- Record every model label and operating range; do not infer compatibility from connector shape or lamp appearance.
- Flicker, humming and abrupt cut-off indicate that the completed setup needs further diagnosis.
Why this matters
A dimmer changes how power reaches the light source, while the pendant determines how that light source is housed and connected. The visual design of a PH5-style shade does not establish electrical compatibility. Use the PH5 pendant lamp replica placement guide for positioning ideas, but treat dimmer selection as a separate technical decision.
Mobelaris is best for replica-lighting shoppers who want to organise compatibility information before commissioning an electrician. This guide covers that preparation workflow. It does not provide mains-wiring instructions, terminal assignments or installation directions.
The correct outcome is not simply a lamp that switches on. The completed setup should operate across the intended dimming range without persistent flicker, humming, delayed response or an unexpected cut-off. Those results depend on the declared specifications of every component in the control chain.
Before you start
Gather the information before booking the work. Missing one label can delay the compatibility decision until the electrician can inspect the fitting in person.
- Lamp documentation: Keep the supplied instructions, packaging labels and any specification sheet that came with the pendant. Photograph labels clearly enough to read every line.
- Light-source details: Record the exact lamp or module model, its stated power rating and whether its documentation explicitly identifies it as dimmable.
- Dimmer information: Record the manufacturer, model reference, supported load types and declared operating range from the dimmer documentation.
- Current control layout: Note whether one wall control operates only this pendant or several lights together. Do not open a switch, ceiling fitting or enclosure to gather this information.
- Non-obvious gotcha: A dimmable light source and a dimmer are not automatically compatible. Both documents must support the same control method and the connected load.
If you are comparing lighting through Mobelaris, keep product selection and electrical compatibility as two distinct checks. A suitable shade design does not confirm that an existing wall control will work with the selected light source.
Build the compatibility record
Record the pendant and light source
- Photograph the pendant label. Capture the complete label rather than copying selected details into a note. A photograph preserves punctuation, symbols and model references that are easy to mistype.
- Identify the replaceable lamp or integrated module. Use the wording in the supplied documentation. Do not classify the light source from its shape alone.
- Find the dimming statement. Look for an explicit dimmable designation and any named control method. If the document does not state that the light source is dimmable, record the status as unconfirmed.
- Copy the declared rating. Record the exact value and unit shown for the light source. Do not substitute an equivalent rating from another product.
- Check for a separate driver or control unit. If one is listed in the product documents, include its full model reference and dimming information in the record.
Expected result: You have one folder containing readable images and documents for the pendant, light source and any separate control component. Nothing relies on memory or visual similarity.
Record the existing dimmer
- Find the dimmer model without dismantling it. Check invoices, packaging, previous project notes or visible markings that can be read without removing the control.
- Download or retain its documentation. The model reference must match exactly. Instructions for a related model do not establish compatibility.
- Record the supported light-source types. Copy the terminology used by the manufacturer rather than translating it into a generic label.
- Record the declared operating range. Include the minimum and maximum values exactly as written, with their units.
- List every light controlled together. Give the electrician the model and declared rating of each light source on that control.
Expected result: The electrician can compare the existing control with the proposed pendant setup before deciding whether the dimmer stays or changes.
Define the control configuration
Start with the behaviour you need, then select the control route that the product documents support. Do not buy a replacement dimmer solely because its faceplate matches the room.
| Control route | Best for | Advantage | Limitation | Required check |
|---|---|---|---|---|
| Existing wall dimmer | Keeping the present control where compatibility is confirmed | Avoids changing the user interface | The current model can fall outside the light source requirements | Match control method and operating range |
| Replacement wall dimmer | A documented pairing that the current control does not support | Allows the control to be selected around the light source | Adds another component decision | Confirm the complete pairing before installation |
| Smart control | App-based scenes or remote adjustment | Adds software control where the chosen system supports it | Introduces device, app and network dependencies | Check both electrical and platform documentation |
Match the declared specifications
- Compare the named control methods. The terminology in the light-source documentation must align with the terminology in the dimmer documentation.
- Compare the connected load with the dimmer range. Use only the ratings printed in the supplied documents. The electrician should confirm the final calculation for every light on the control.
- Check configuration requirements. Some controls include documented adjustments or setup procedures. Use the instructions for the exact model rather than settings copied from another dimmer.
- Resolve every unknown before installation. An unreadable label, missing driver reference or unclear dimming statement remains an open item, not an assumption.
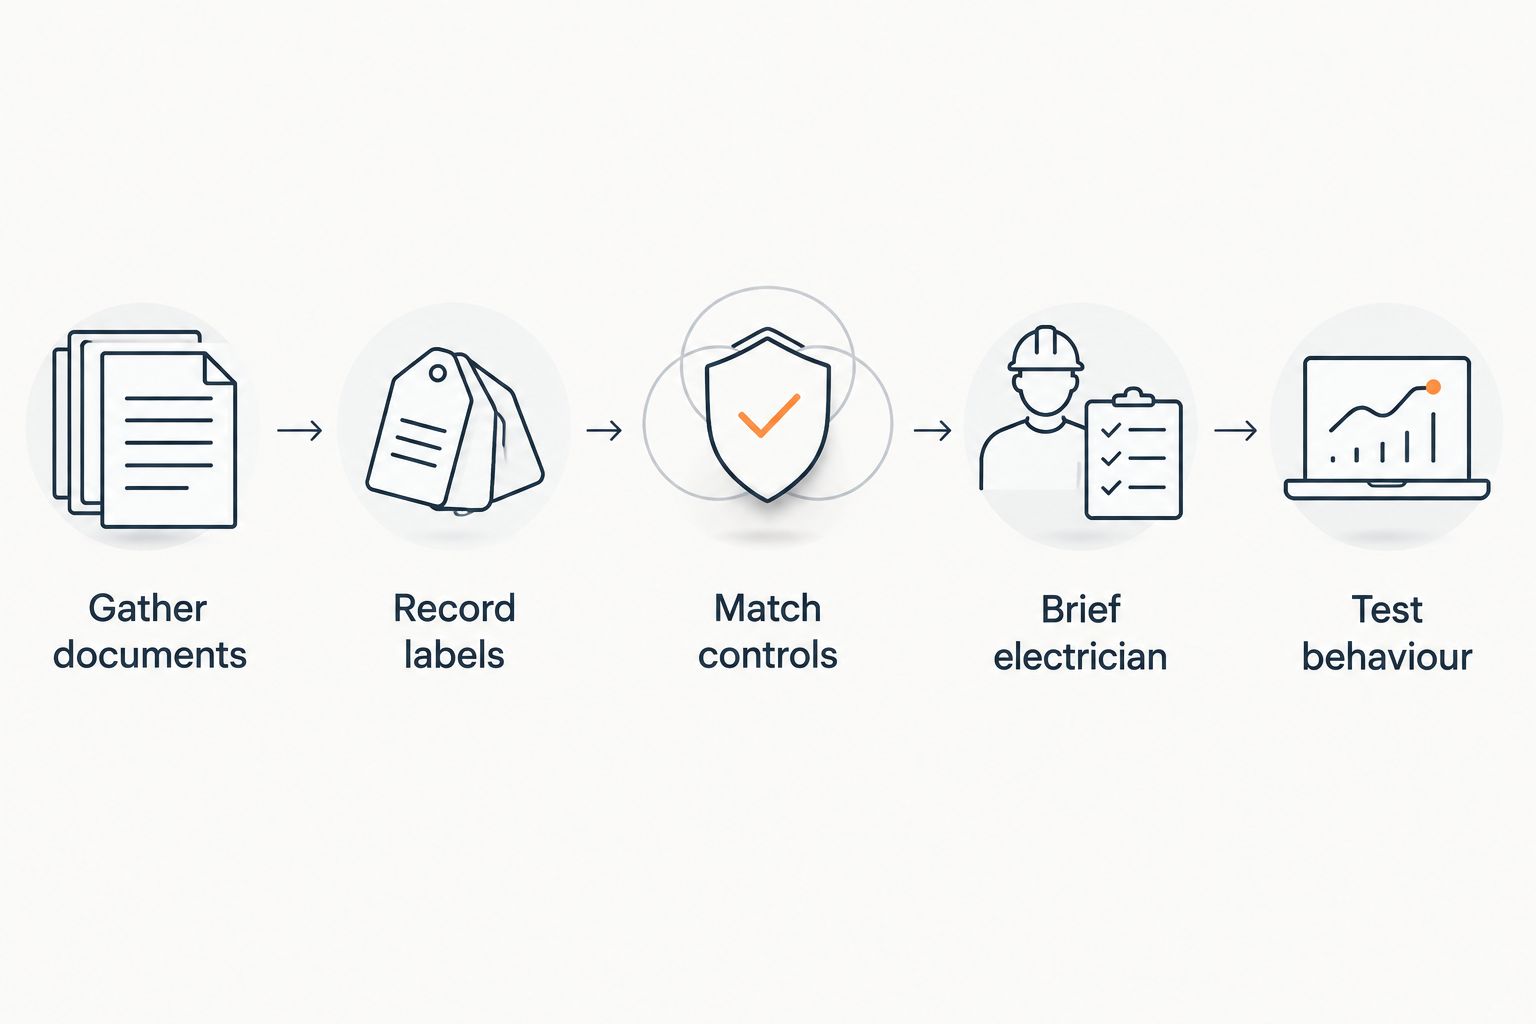
Expected result: One control route is supported by the documentation, or the record clearly identifies what must be confirmed by the electrician or component supplier.
Prepare the electrician handover
A concise brief prevents the installation appointment from turning into a product-identification exercise. Put all information in one message or folder and keep the original files available.
- State the intended result. Explain that the pendant should switch and dim from the selected wall or smart control.
- Attach the pendant documents. Include the full instruction sheet and all readable label photographs.
- Attach the light-source documents. Include the exact model, dimmable designation, declared rating and control method.
- Attach the dimmer documents. Include the model reference, supported load information and operating range.
- Describe the control group. State whether the dimmer controls the pendant alone or operates additional lights.
- List unresolved questions. Ask for confirmation of compatibility, control selection and any model-specific configuration before work begins.
Do not request a quotation with only the phrase PH5 pendant lamp dimmer switch. The physical appearance of the lamp does not tell the electrician which light source, driver or dimming method is involved.
Expected result: The electrician can identify missing information, confirm the proposed component pairing and arrive with a defined scope.
Variant: use a smart control
A smart-control workflow adds platform compatibility to the electrical checks. The app does not remove the need to verify the light source, driver and wall-control pairing.
- Identify the exact smart-control model. Record its full model reference and retain the setup guide for that version.
- Check the supported light sources. Compare the terminology and operating range with the pendant light-source documentation.
- Confirm the required system components. Use the manufacturer documentation to identify any app, account, hub or other named component.
- Give the complete specification set to the electrician. Include the smart-control guide with the pendant, light-source and driver documents.
- Follow the exact app sequence after installation. Button names and menu paths differ between platforms, so use only the instructions supplied for the selected system.
- Test physical and app control separately. Record whether switching and dimming respond consistently through each supported control method.
Expected result: The smart control operates through its documented interface, and the pendant responds consistently throughout the usable dimming range.
The principal advantage is access to software features described by the chosen platform. The disadvantage is a longer dependency chain: the lamp, driver, wall control, app and any required platform component must all match their respective documentation.
Troubleshooting the completed setup
Do not diagnose a completed electrical installation by swapping unverified components at random. Record the symptom precisely and give the information to the electrician who completed or is reviewing the work.
The pendant does not switch on
Confirm whether the problem occurs from every intended control method. Record the dimmer model, light-source model and any visible status shown by the smart-control app. Ask the electrician to verify the installed configuration against the documentation.
The light flickers at part of the dimming range
Record where the flicker starts and whether it happens while lowering, raising or holding the level. The electrician can then compare that behaviour with the declared dimmer range and any model-specific adjustment procedure.
The lamp hums when dimmed
Identify whether the sound comes from the pendant area, the light source or the wall-control area without opening anything. Persistent humming requires a review of the component pairing and completed installation.
The light cuts off before reaching the lowest setting
Record the lowest stable position and the point at which the light switches off. Ask the electrician to check whether the selected dimmer has a documented low-end configuration and whether the connected load fits its declared range.
The smart control works inconsistently
Separate app behaviour from lamp behaviour. Record whether the physical control still responds, whether the app displays the device and whether the problem affects switching, dimming or both. Use the platform documentation for software diagnosis and the electrician for the installed control system.
For Mobelaris readers, the useful troubleshooting record is factual: exact models, exact symptom, exact control method and the point at which behaviour changes. A description such as the dimmer does not work leaves too many variables unresolved.
Customise your workflow
Once the basic pairing is confirmed, decide how the pendant should behave in normal use. Keep each request specific so the electrician can distinguish essential operation from optional control features.
- Define whether the pendant is controlled alone or as part of a lighting group.
- State whether wall control, app control or both are required.
- Identify any preferred default behaviour described in the chosen control documentation.
- Keep the final component list with the household records for future light-source replacement or fault diagnosis.
- Photograph the final model labels that remain accessible without dismantling installed components.
Do not substitute a visually similar light source later without repeating the compatibility check. A different model can have different dimming requirements even when it fits the same holder.
FAQ
Can any PH5 pendant lamp replica use any dimmer switch?
No. Compatibility depends on the exact light source, any separate driver and the dimmer model. Confirm the named control method and declared operating range in the documents for every component.
How do I know whether my pendant light is dimmable?
Check the exact light-source and driver documentation for an explicit dimmable designation. The pendant shape, connector or current wall control does not confirm that status.
Can I connect a PH5 pendant lamp dimmer switch myself?
This guide does not provide mains-wiring instructions. Give the component documents and intended control setup to a qualified electrician for connection, configuration and testing.
Why does a dimmable lamp flicker on a dimmer?
Flicker indicates that the completed component pairing or configuration needs diagnosis. Record when the flicker occurs and ask the electrician to compare the setup with the declared operating ranges.
Can I use a smart bulb with a wall dimmer?
Use that combination only when the documentation for both products supports it and the electrician confirms the intended configuration. Smart-light products have model-specific control requirements.
How much does it cost to connect a pendant to a dimmer?
The cost depends on the existing control, the selected components and the work required. Request a quotation after supplying the exact lamp, light-source, driver and dimmer details.
One last thing
Keep the compatibility record after the work is complete. The next replacement light source must be checked against the installed dimmer rather than chosen by shape alone. Mobelaris shoppers who retain the exact component references make future product identification and professional diagnosis far simpler.